Headlight Restoration: A Step-by-Step DIY Guide


Understanding Headlight Restoration
Over time, the headlights of your vehicle can become cloudy and yellowed due to oxidation and exposure to sunlight. This not only impacts the aesthetic appeal of your car but also reduces visibility, making night driving less safe. Fortunately, you don't need to replace your headlights to restore their clarity. With a little effort, you can restore them to like-new condition.
Restoring your headlights is a cost-effective and straightforward DIY project. By following the steps outlined in this guide, you can enhance both the look and functionality of your vehicle. Let's dive into the process.

Gathering Your Materials
Before you begin, it's crucial to gather all the necessary materials. You will need:
- Automotive masking tape
- Sandpaper (grits 600, 1000, and 2000)
- Plastic polish or rubbing compound
- Microfiber cloths
- Spray bottle with water
- UV sealant or protectant
Having these items on hand will ensure a smooth restoration process and provide the best results for your headlights.
Preparing for Restoration
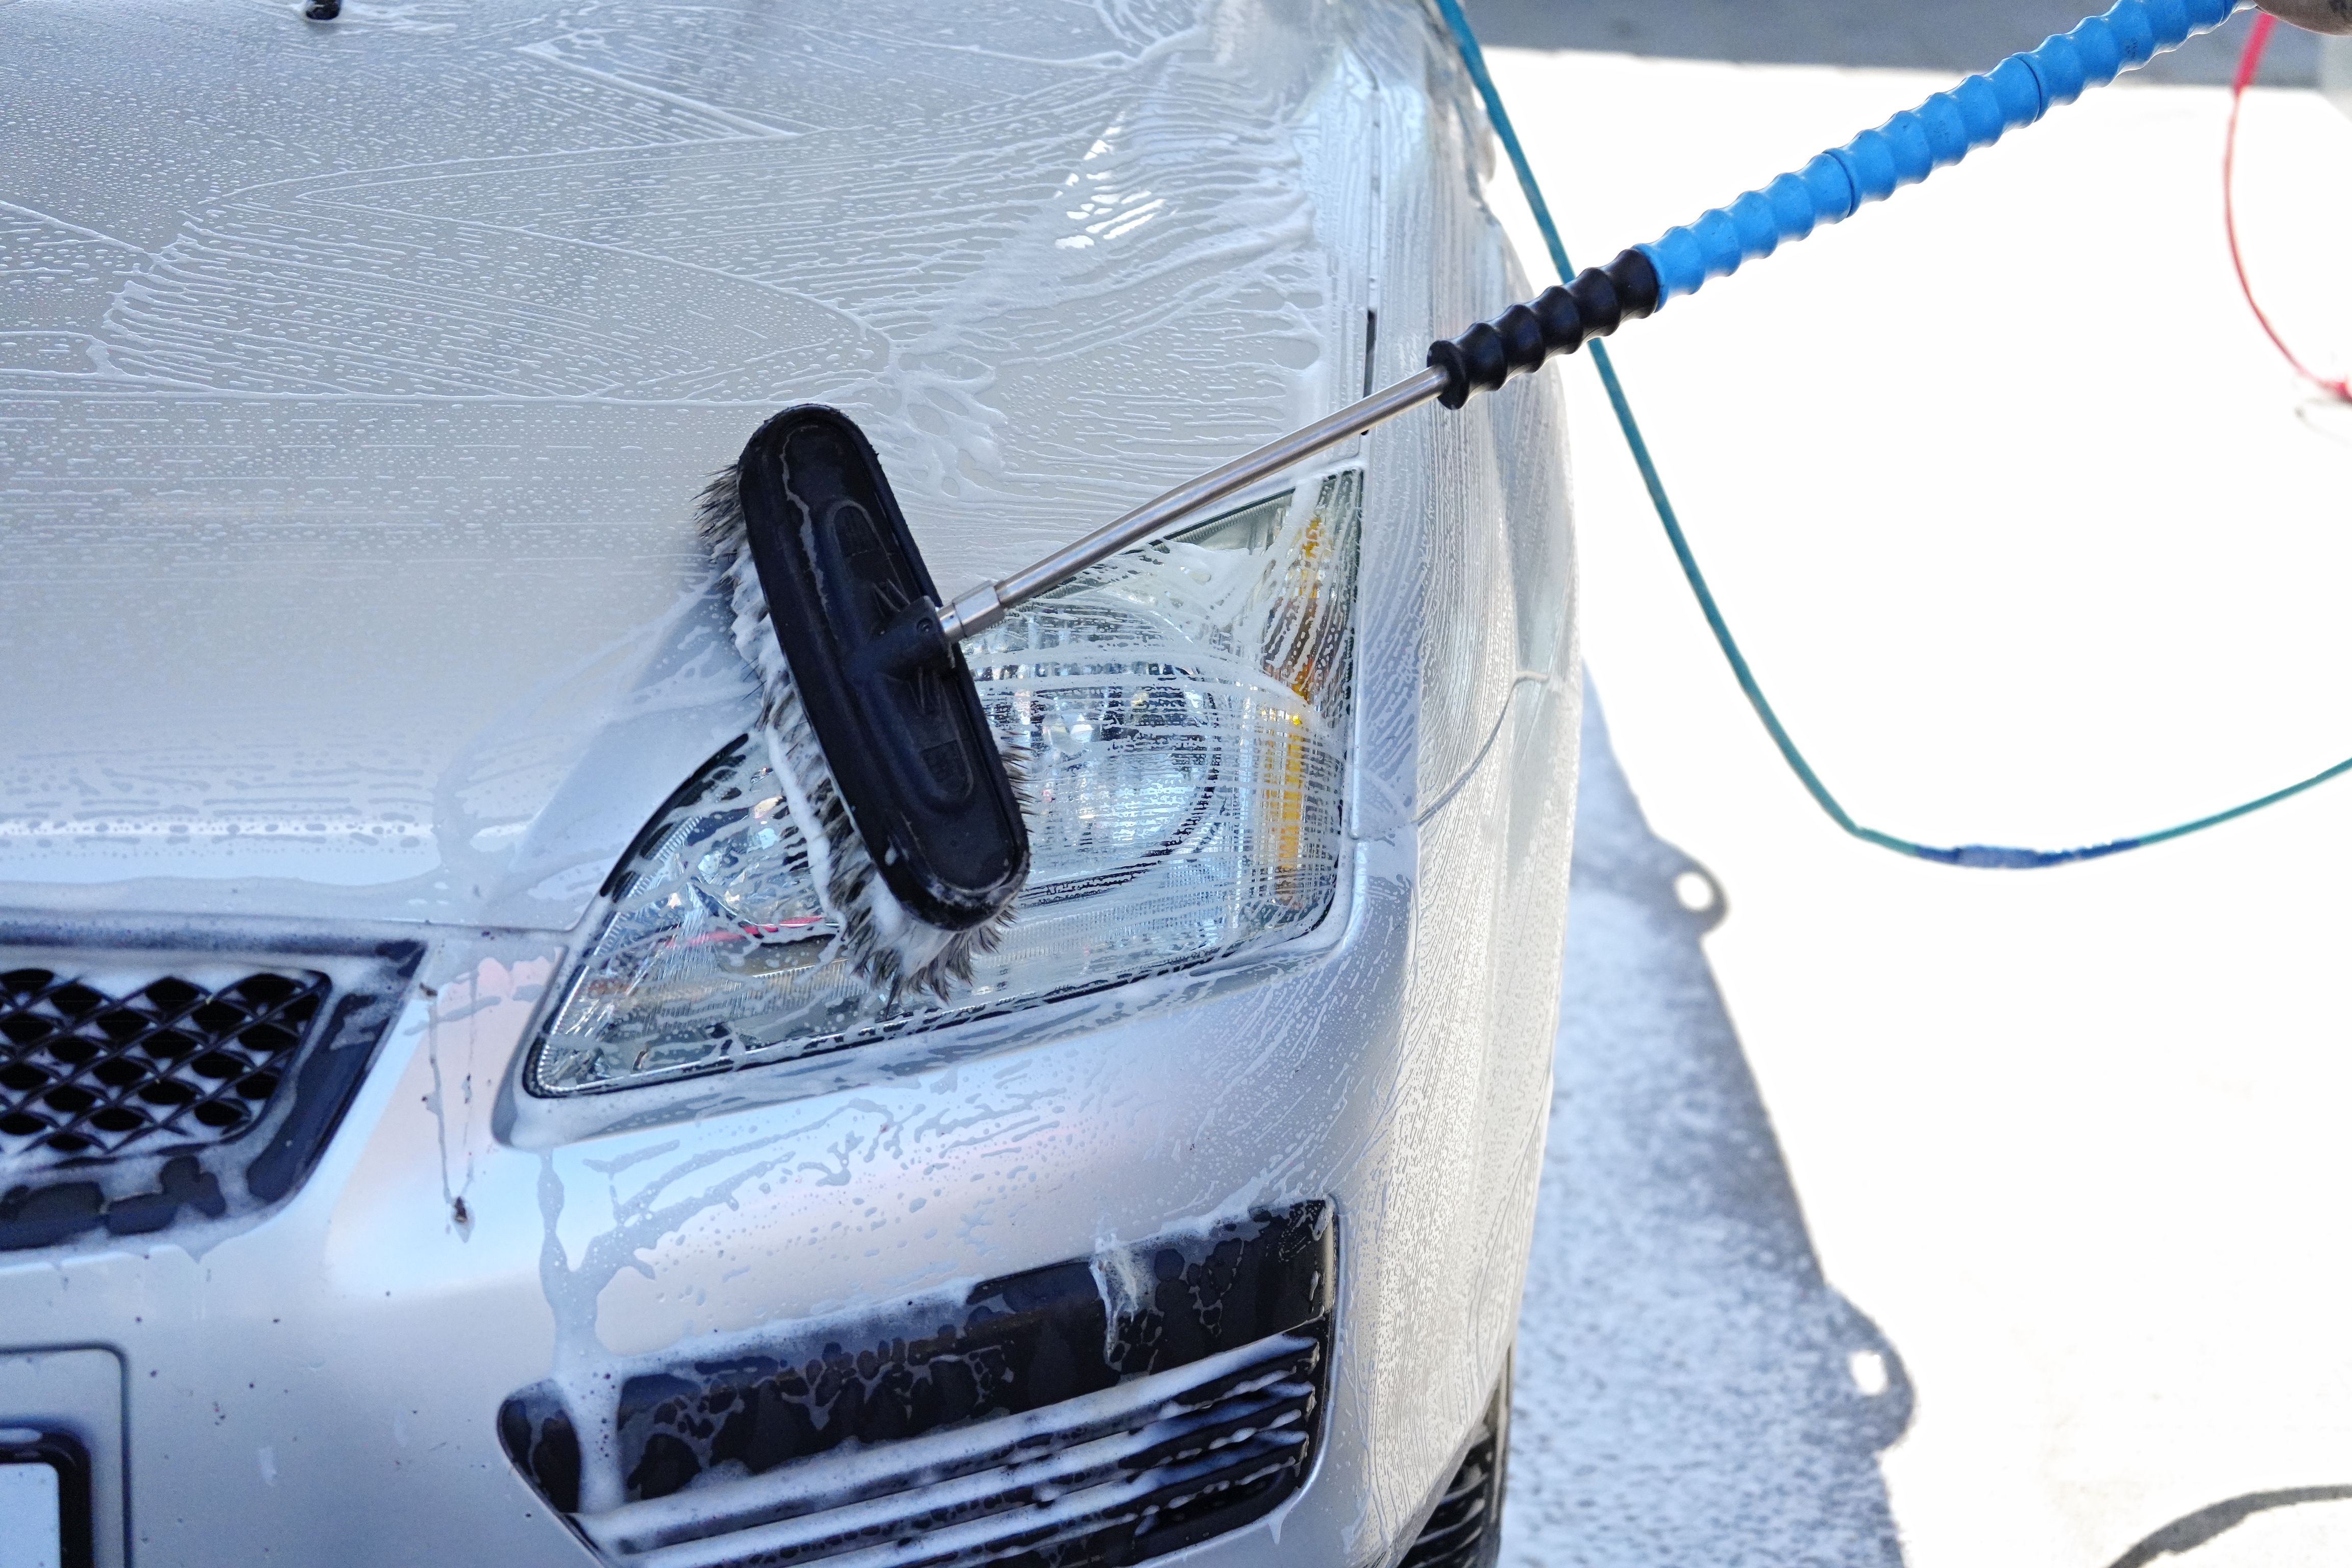
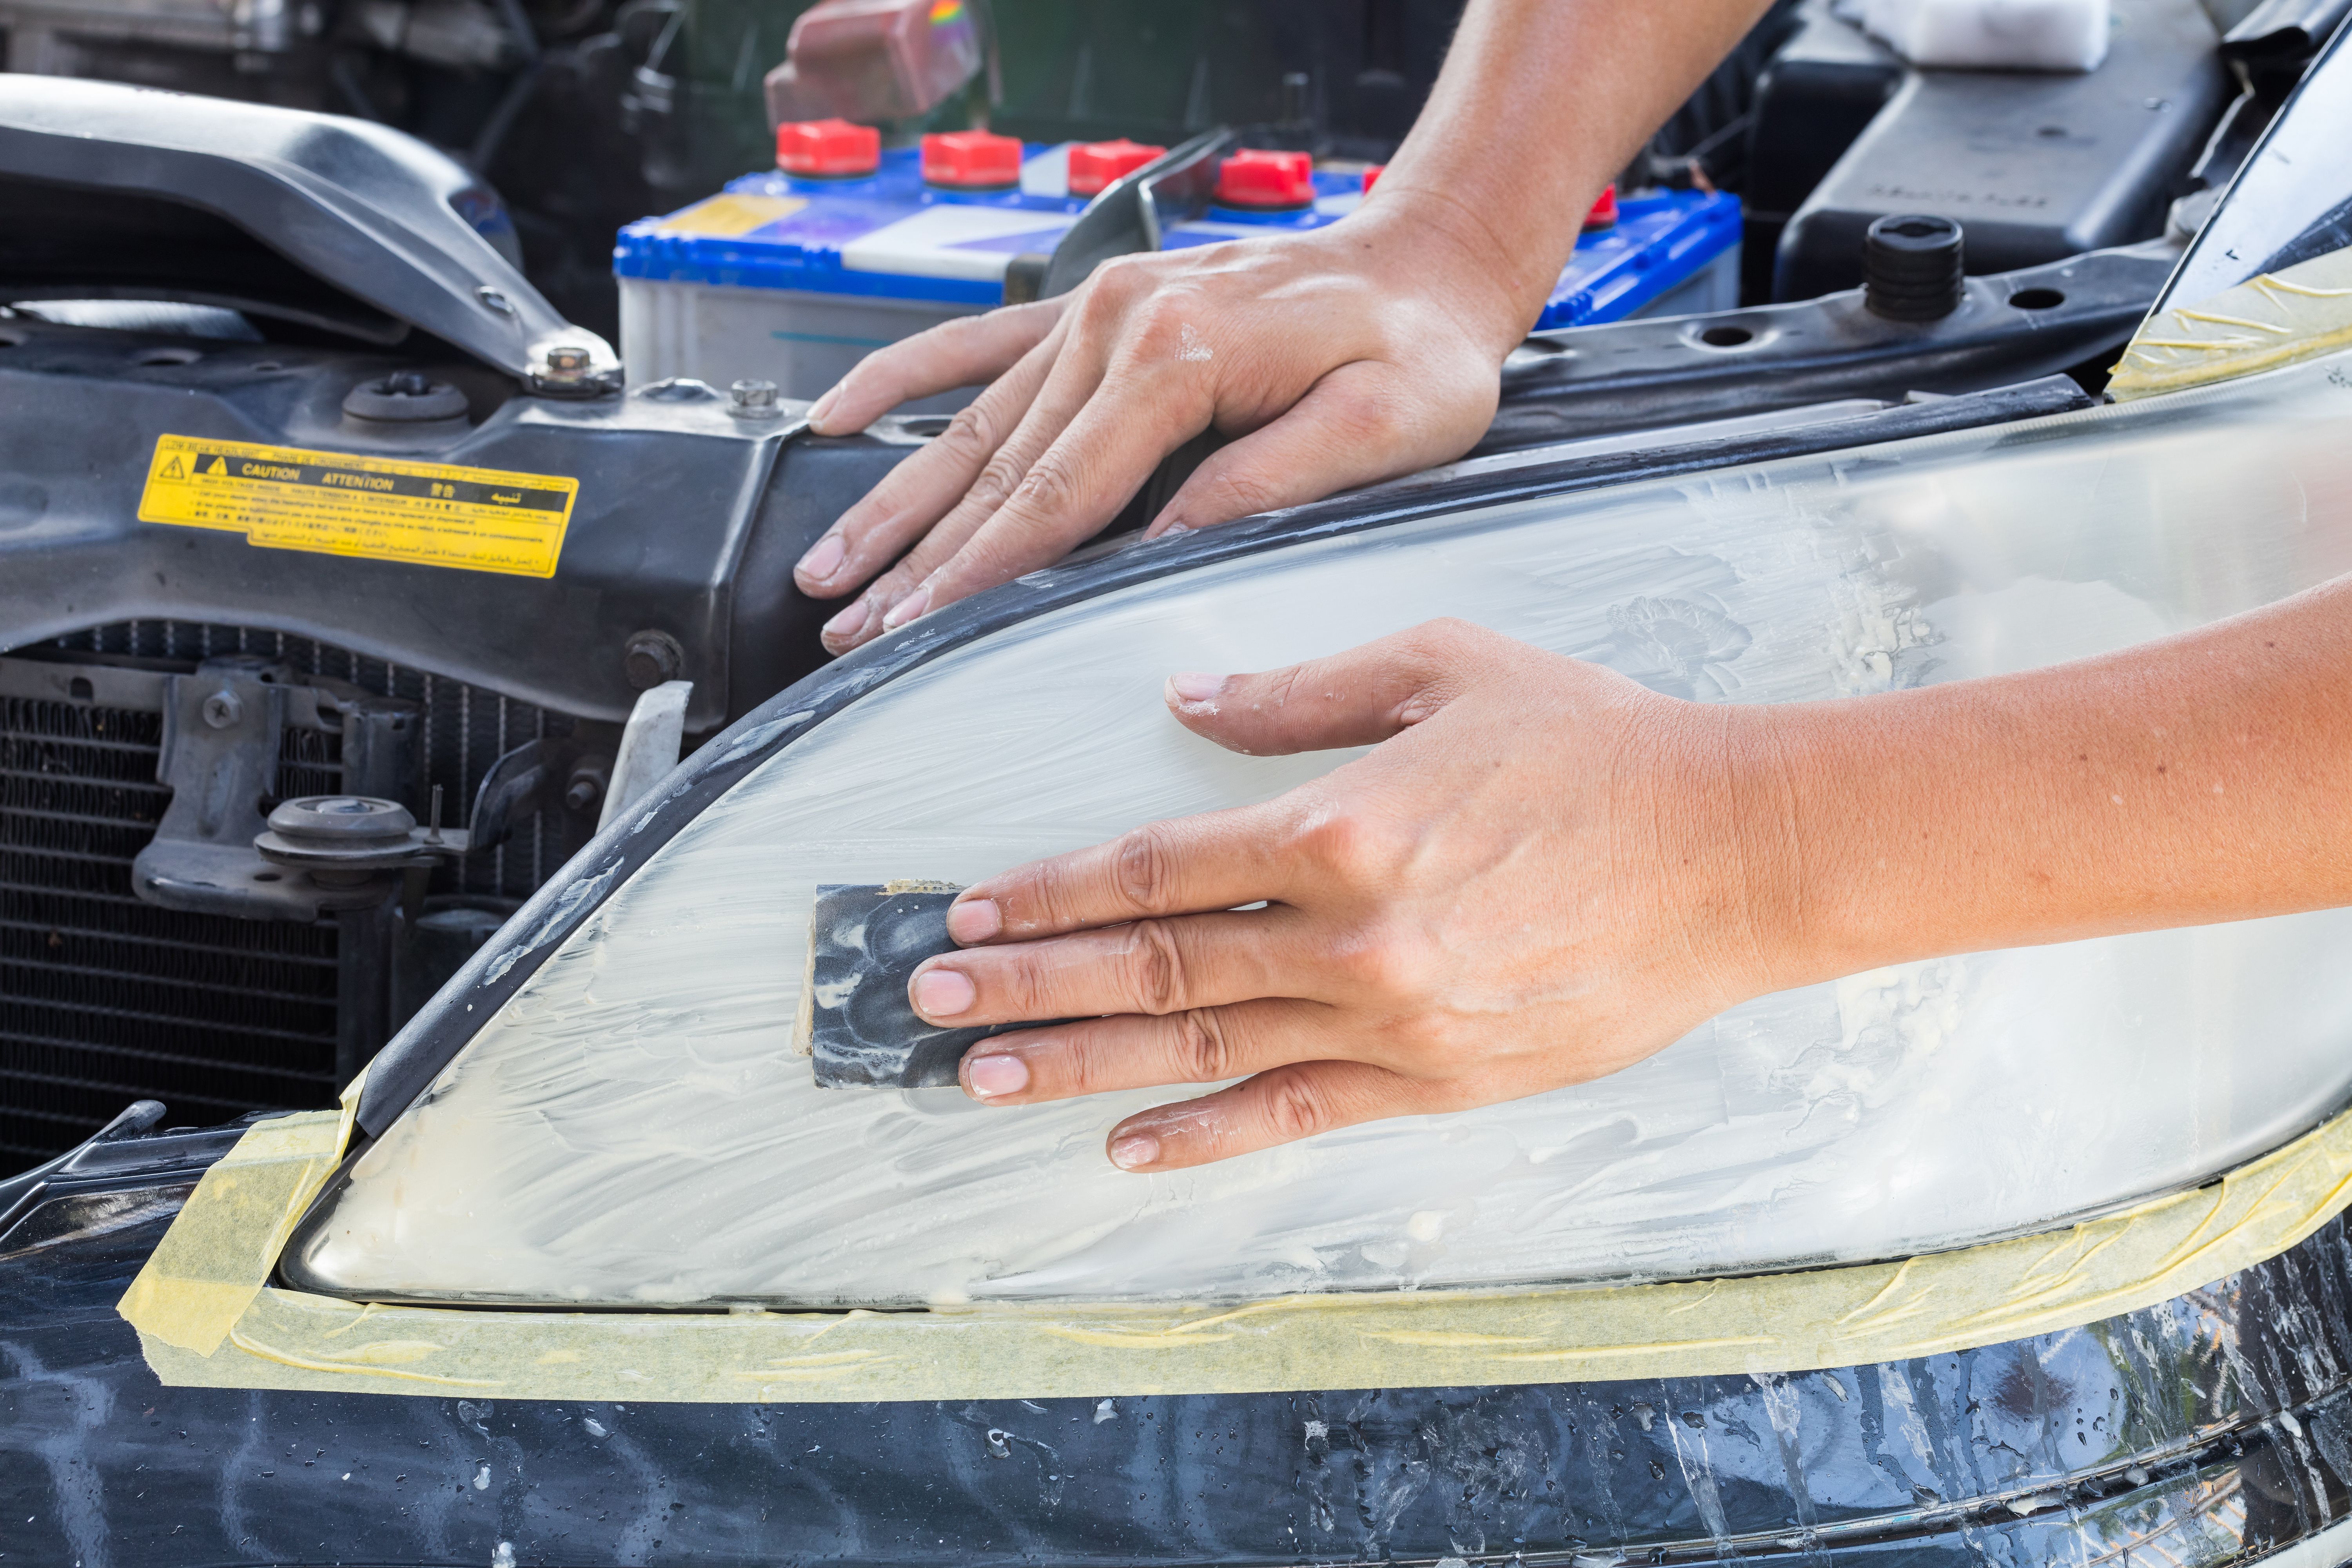
Start by thoroughly cleaning your headlights with soap and water to remove any surface dirt and grime. Once clean, dry them completely with a microfiber cloth. Next, use automotive masking tape to cover the areas around the headlights, protecting your car's paint from accidental scratches during the sanding process.
Sanding the Headlights
Sanding is a crucial step in the restoration process. It removes the oxidized layer from the headlight surface. Begin with the 600-grit sandpaper, keeping it wet with the spray bottle to prevent deep scratches. Sand in horizontal strokes, applying even pressure. Repeat the process with 1000-grit and then 2000-grit sandpapers, ensuring you keep the surface consistently wet and smooth.
After sanding, your headlights might appear hazy, but don't worry—this is normal and will be cleared up in the next steps.
Polishing the Headlights
Once sanding is complete, it's time to polish the headlights. Apply a small amount of plastic polish or rubbing compound to a microfiber cloth. Buff the headlights in circular motions, applying moderate pressure. This process will clear the haze created by sanding and restore clarity to the lenses.
Polishing might take some time, so be patient. If necessary, apply additional polish until you achieve the desired clarity.
Sealing and Protecting
After polishing, it's essential to apply a UV sealant or protectant to your headlights. This step prevents future oxidation and keeps your headlights looking clear for longer. Follow the manufacturer's instructions for application, and be sure to cover the entire surface evenly.

Regular Maintenance Tips
To maintain your newly restored headlights, clean them regularly with a mild soap solution and water. Avoid harsh chemicals that can damage the protective sealant. Additionally, apply a UV protectant every few months to prolong the clarity and effectiveness of your headlights.
By following these maintenance tips, you can ensure that your headlights remain bright and clear, enhancing both the safety and appearance of your vehicle.
Conclusion
Headlight restoration is a simple, cost-effective way to improve your vehicle's appearance and safety. By taking the time to restore and maintain your headlights, you can enhance nighttime visibility and ensure your car looks its best. With the right materials and a little effort, you can achieve professional-quality results at home.